

When it comes to maintaining a trailer, ensuring that the brake system functions effectively is crucial for safety and performance. Proper maintenance not only extends the lifespan of the brakes but also prevents accidents, making your towing experience more secure. Many owners underestimate the importance of regular checks and servicing, which can lead to costly repairs and hazardous situations on the road.
Understanding how to care for your trailer’s brake system plays a vital role in its reliability. From checking the brake fluid to inspecting the brake pads and lines, a comprehensive maintenance routine will help identify potential issues before they escalate. This article will cover essential tips and best practices to keep your trailer brake systems in optimal condition, ensuring they perform effectively when you need them most.
Moreover, neglecting brake maintenance can result in uneven wear and decreased braking efficiency, putting both your vehicle and your cargo at risk. By following the guidelines outlined in this article, you will not only enhance the overall performance of your trailer but also ensure the safety of yourself, your passengers, and other motorists on the road.
Regular Inspection Procedures for Trailer Brake Components
Regular inspection of trailer brake components is essential for ensuring safe and efficient operation during towing. The primary components to examine include brake pads, drums, lines, and connectors.
Begin by inspecting the brake pads for signs of wear. Normal wear occurs over time, but if the pads are excessively worn or uneven, they should be replaced. Check the brake drums for cracks or significant scoring, as these issues can impede braking effectiveness.
Next, examine the brake lines for any leaks or signs of corrosion. It’s crucial to ensure that there are no fluid leaks, as this can lead to brake failure. Additionally, confirm that all connectors are secure and free from rust or damage to maintain a reliable electrical connection for electric brakes.
It’s also important to test the brake actuator and wiring. Use a multimeter to check that the system is receiving the appropriate voltage when brakes are applied. Regularly exercising the brakes while the trailer is stationary can help identify any irregularities in brake response.
Finally, make it a habit to review the owner’s manual for specific maintenance recommendations provided by the trailer manufacturer. Following these guidelines will aid in detecting potential issues early and prolonging the lifespan of the trailer brake system.
Step-by-Step Guide to Replacing Trailer Brake Shoes
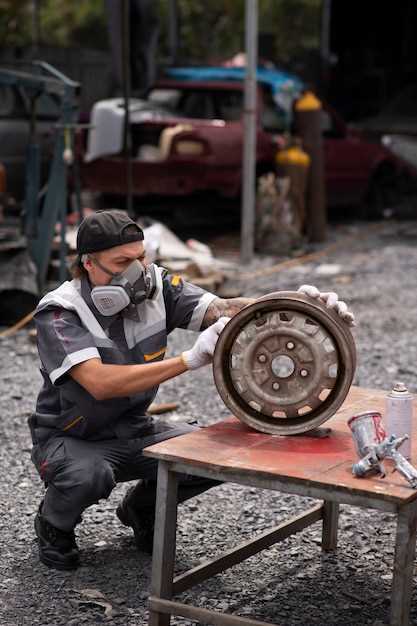
Replacing trailer brake shoes is an essential maintenance task that ensures optimal braking performance and safety. Follow this detailed guide to complete the task efficiently.
Step 1: Gather Your Tools and Materials
Before starting, collect all necessary tools and materials, including new brake shoes, a jack, jack stands, wrenches, a screwdriver, and brake cleaner. Ensure you have safety gear such as gloves and goggles.
Step 2: Prepare Your Trailer
Park the trailer on a flat surface and securely block the wheels. Use the jack to lift the trailer and place jack stands underneath to provide additional support. Always ensure the trailer is stable before working on it.
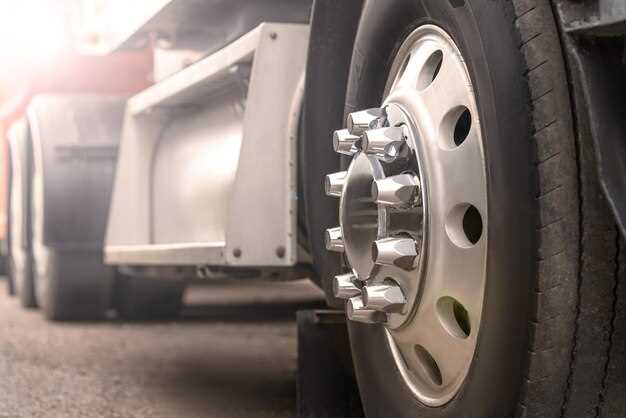
Step 3: Remove the Wheel Assembly
Using a wrench, carefully remove the lug nuts from the wheel. Take off the wheel and set it aside. This will expose the drum where the brake shoes are located.
Step 4: Inspect and Remove the Brake Drum
Inspect the brake drum for any signs of damage or excessive wear. If it appears to be in good condition, proceed to remove it by taking off any retaining clips and sliding the drum off the hub.
Step 5: Detach Old Brake Shoes
Take note of the configuration of the old brake shoes to ensure proper installation of the new ones. Remove the springs and retainers holding the brake shoes in place. Carefully detach the old shoes from the backing plate.
Step 6: Clean the Brake Assembly
Before installing new brake shoes, clean the brake assembly with brake cleaner. This removes dust and debris, promoting better performance and longevity for the new shoes.
Step 7: Install New Brake Shoes
Position the new brake shoes on the backing plate, following the configuration noted earlier. Attach the springs and retainers, ensuring they are secure and properly aligned. The shoes should move freely to engage the brakes effectively.
Step 8: Reassemble the Brake Drum
Carefully place the brake drum back onto the hub. Make sure it fits snugly and that there are no obstructions. Replace any retaining clips that were removed earlier.
Step 9: Reinstall the Wheel
Place the wheel back onto the hub and hand-tighten the lug nuts. Once secured, lower the trailer and use a torque wrench to tighten the lug nuts to the manufacturer’s specified torque rating.
Step 10: Test the Brake System
Before taking your trailer on the road, test the brake system. Pump the brakes a few times to ensure proper engagement. Check for any unusual noises or dragging, and ensure everything is functioning smoothly.
Routine maintenance and timely replacement of brake shoes are critical for the safe operation of your trailer. Following this step-by-step guide can help you efficiently replace the trailer brake shoes and maintain optimal braking performance.
Common Myths About Trailer Brake Maintenance Debunked
One prevalent myth is that trailer brakes don’t require frequent inspections because they are less used than vehicle brakes. In reality, trailer brake systems endure significant wear and tear, especially during heavy loads or on uneven terrain. Regular inspections ensure that brakes remain effective and safe for towing.
Another misconception is that all trailer brake systems are the same. This is not true; there are various types of trailer brakes, including electric and hydraulic systems, each with distinct maintenance requirements. Understanding your specific brake system is crucial for proper upkeep.
Many believe that if brakes are functioning well, there is no need to replace brake fluid or components. However, brake fluid can absorb moisture over time, leading to diminished performance and corrosion. Regularly checking and flushing the brake fluid is essential to maintain optimal braking performance.
Some owners assume that only mechanics can handle trailer brake maintenance. While professional help is valuable, many maintenance tasks, such as checking brake adjustment or inspecting wiring, can be performed by the owners themselves, saving time and money.
Lastly, a common myth is that trailer brakes do not need maintenance during the off-season. Even when not in use, trailer brakes can deteriorate due to environmental factors or rust. Ensuring that the system is maintained year-round is vital for safe operation when the towing season begins.


